In order to run paid ads on Facebook, you’ll want to install the Facebook Tracking Pixel. With the recent Apple updates that are affecting the Facebook Ads Manager platform, even if you have the Facebook Tracking Pixel installed, you need to also verify your domain.
Why do we want to track our website visitors?
If we’re driving traffic using paid ads we’ll want to be able to get an idea of who it is that’s clicking on them. By adding the tracking pixel you can build up an audience of website visitors.
You can then:
- Run conversion ads that are designed to get you better ad outcomes
- Remarket to them with ads
- Use the data as a way for the Facebook algorithm for you to run better ads.
Step 1: Add Facebook Tracking Pixel to your website
You still need to add the Facebook tracking pixel to your website. If you have already done this, skip to Step 2.
- Navigate to Facebook.com/ads/manage or however you get into ads manager
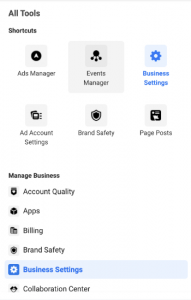
- Go to Events Manager
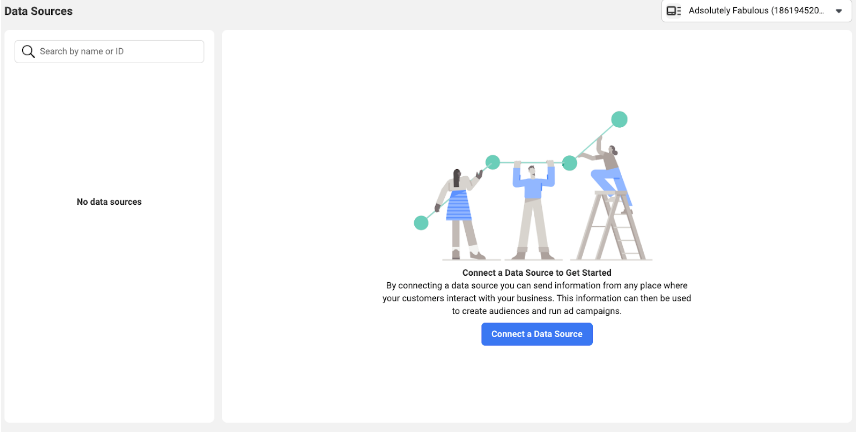
- If you have never set up your Facebook Tracking Pixel before, your screen will look like this.
- Select “Connect a Data Source”
![]()
Install the Base Code
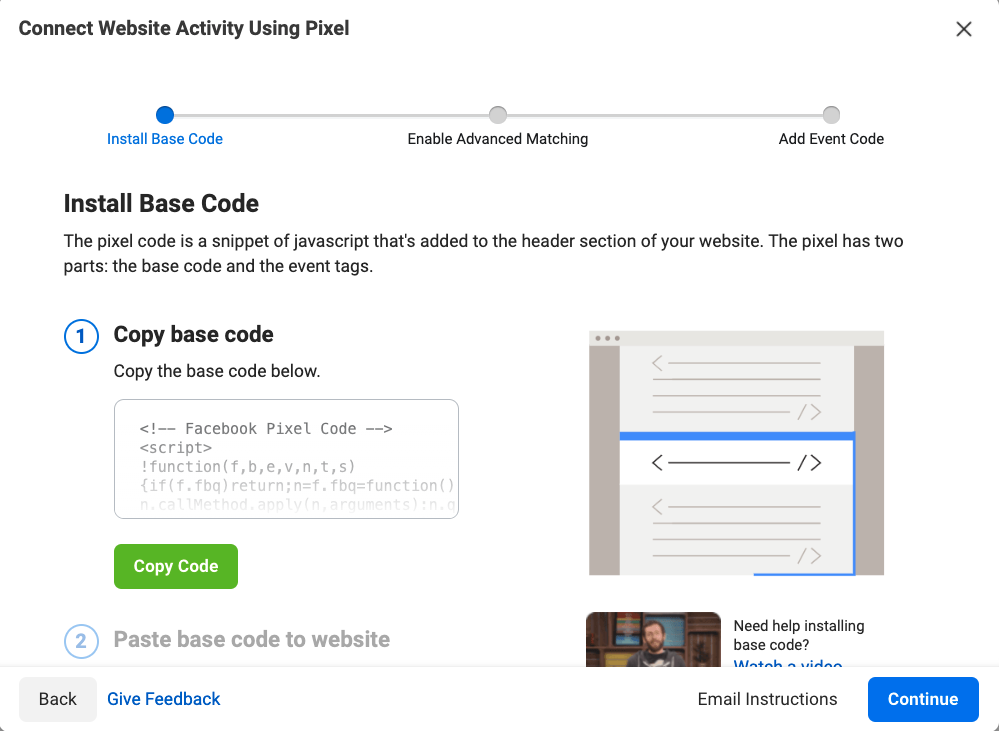
For WordPress websites, I suggest using the Insert Headers & Footers plugin.
Watch the video below.
For other websites follow their instructions online:
Once your website has the pixel installed, make sure it is done correctly with the Chrome Browser Extension “Facebook Pixel Helper” or in Events Manager.
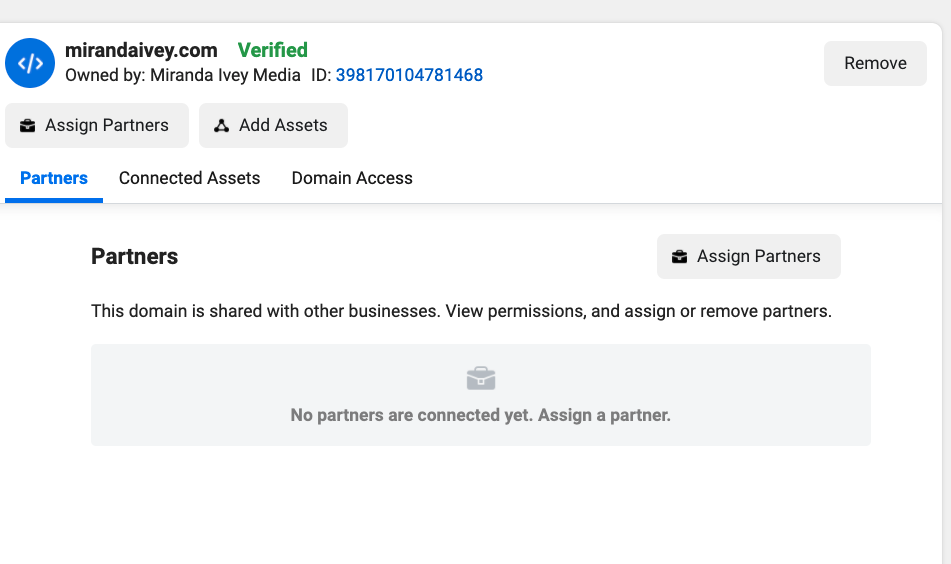
Step 2: Verify Your Domain in Facebook
With the new Facebook / Apple changes you must verify your domain in Facebook as this may affect your ability to run ads.
- In Ads Manager go to Business Settings
- On the left hand side menu go to Brand Safety and select Domains from the Drop Down menu
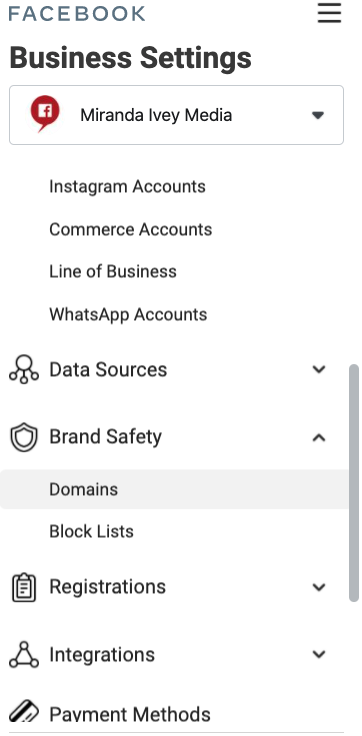
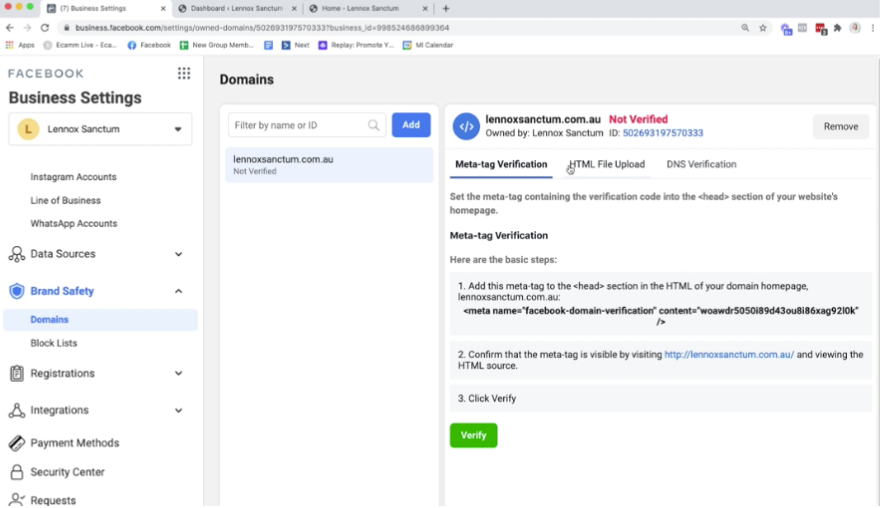
- Add in your domain URL in the “Add Domain” section.
- From there if you’re using a WordPress website you’ll need to copy the “Meta Tag Verification” method code
- That’s the code that starts <meta name = “facebook etc>
- If you just click on the code in bold it will be copied.
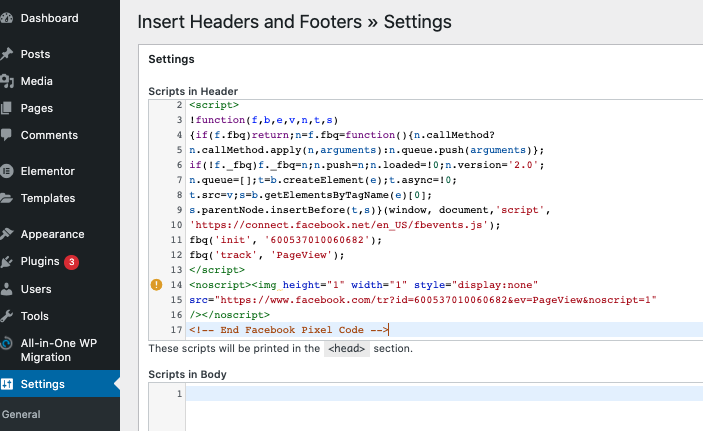
- Go to your website. Select the Insert Headers & Footers Plugin
- Paste the code into the website under your existing Facebook Tracking Pixel code. Right where it says <!– End Facebook Pixel Code →
Go back to Facebook Business Settings.
Make sure that you’re in “Meta Tag Verification”
Hit Verify
Hit Refresh in your browser toolbar.
Your domain should now be verified!